Dxtreme1
Member
- Location
- Central Valley California
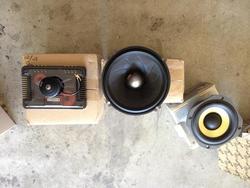
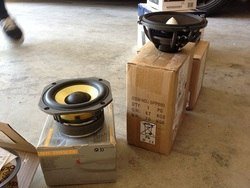
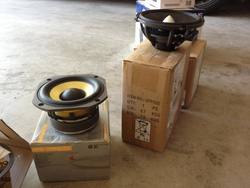
Finally got almost 99% of all the things I need to complete
my stereo system upgrade. I still need to verify the wiring
on the Bose system so I can tie it up to the Alpine Processor
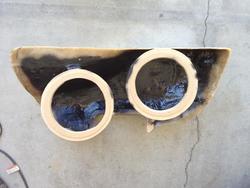
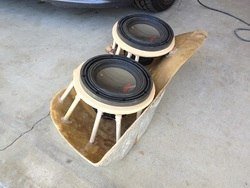
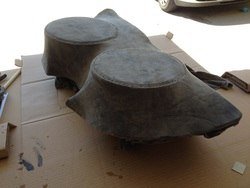
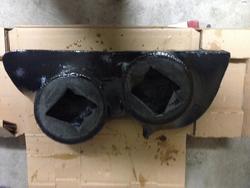
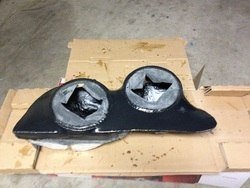
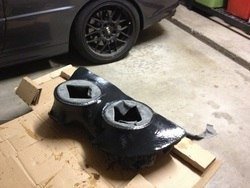
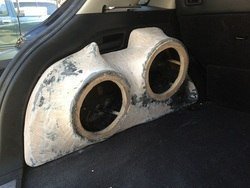
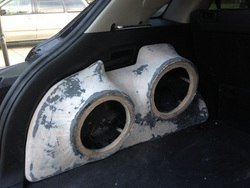
For the meantime I'm starting with the fiberglass enclosure to
house the 2 8 inch Alpine Type R subs.
For anyone that may fear to tackle such a job. I am no Pro and
is a self-taught Car Audio/Video DIY guy. You just need some
patience and just need to take your time but it can be down with
minimal tools.
I start off prepping the surface to be glassed. Once cleaned I
then mask off the area and all adjacent areas close by to avoid
accidental spillage. Do your best to keep the mask job as clean
and smooth as possible.
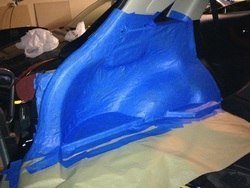
Spray on some spray-on adhesive(I use 3M Super 77)and once it tacks up you apply sheets of
alluminum foil. The combination of the masking tape and foil will make it easier to detach
the fiberglass mold from the panel.
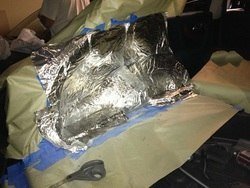
Now using pre-cut fiberglass fabrics(cut different lengths and use accordingly - short ones
for the more curved areas). I just use the Fiberglass Resin available at any hardware store.
For beginners I would advise going to your nearest Tap Plastic or any Plastic Supply store and
buy their One to One Ratio resin and hardener to eliminate mixture guesswork. Its ok to not get
this part super smooth. You can clean up the raised parts with a Dremel or a rotary or sanding
tool.
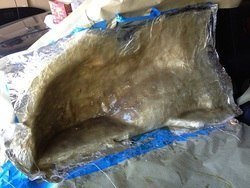
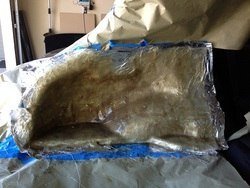
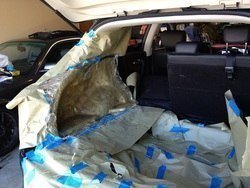
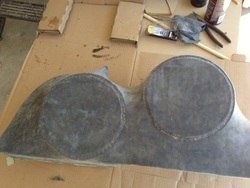
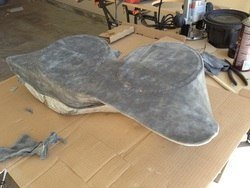
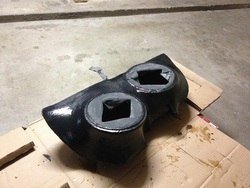
Once you lay about 3 to 4 layers of fiberglass let the resin cure completely. I use a heat gun
to hasten curing time. Once fully cured the mold should come off with just a slight pull from
end to end. Your mold should come out somethng like this.
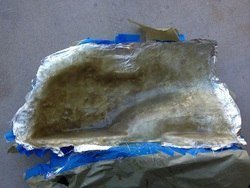
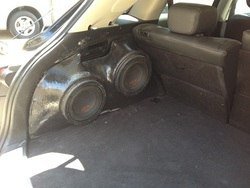
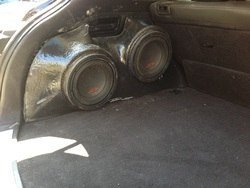
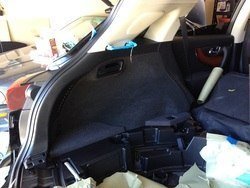
If you do it right your panel should look like this. As you can see just like it was before.
No mess no left over tape or foil.
---------- Post added at 02:30 AM ---------- Previous post was at 02:29 AM ----------
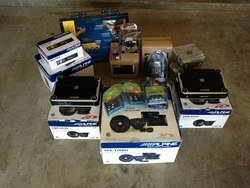
Ok....thats the first part of many to come. I will update this thread as I progress through the
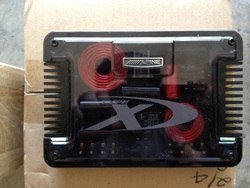
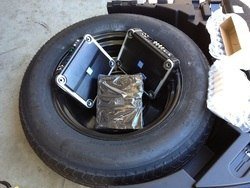
project. For now I'll offer a sneak peak. This is experimental right now...Not sure if this will
be the final installation of the amp/processor rack. I will be doing a fiberglass mold to house
the equipment inside the spare tire. The equipment will be raised and mounted then surrounded by
a fiberglass enclosure with LED edgelit plexiglass surrounds around the amps. The processor will
be mounted on a pedestal and a plexiglass mount(LED back lit). The spare tire oem cover will be
modified to fit a Plexiglass window to have full view of the equipment but will have a cover to avoid
scratches when loading up the cargo space. I am designing a quick connect/disconnect system for all
the audio and power cables so I can easily get to the spare tire if needed.
my stereo system upgrade. I still need to verify the wiring
on the Bose system so I can tie it up to the Alpine Processor
For the meantime I'm starting with the fiberglass enclosure to
house the 2 8 inch Alpine Type R subs.
For anyone that may fear to tackle such a job. I am no Pro and
is a self-taught Car Audio/Video DIY guy. You just need some
patience and just need to take your time but it can be down with
minimal tools.
I start off prepping the surface to be glassed. Once cleaned I
then mask off the area and all adjacent areas close by to avoid
accidental spillage. Do your best to keep the mask job as clean
and smooth as possible.
Spray on some spray-on adhesive(I use 3M Super 77)and once it tacks up you apply sheets of
alluminum foil. The combination of the masking tape and foil will make it easier to detach
the fiberglass mold from the panel.
Now using pre-cut fiberglass fabrics(cut different lengths and use accordingly - short ones
for the more curved areas). I just use the Fiberglass Resin available at any hardware store.
For beginners I would advise going to your nearest Tap Plastic or any Plastic Supply store and
buy their One to One Ratio resin and hardener to eliminate mixture guesswork. Its ok to not get
this part super smooth. You can clean up the raised parts with a Dremel or a rotary or sanding
tool.
Once you lay about 3 to 4 layers of fiberglass let the resin cure completely. I use a heat gun
to hasten curing time. Once fully cured the mold should come off with just a slight pull from
end to end. Your mold should come out somethng like this.
If you do it right your panel should look like this. As you can see just like it was before.
No mess no left over tape or foil.
---------- Post added at 02:30 AM ---------- Previous post was at 02:29 AM ----------
Ok....thats the first part of many to come. I will update this thread as I progress through the
project. For now I'll offer a sneak peak. This is experimental right now...Not sure if this will
be the final installation of the amp/processor rack. I will be doing a fiberglass mold to house
the equipment inside the spare tire. The equipment will be raised and mounted then surrounded by
a fiberglass enclosure with LED edgelit plexiglass surrounds around the amps. The processor will
be mounted on a pedestal and a plexiglass mount(LED back lit). The spare tire oem cover will be
modified to fit a Plexiglass window to have full view of the equipment but will have a cover to avoid
scratches when loading up the cargo space. I am designing a quick connect/disconnect system for all
the audio and power cables so I can easily get to the spare tire if needed.