

Tools:
Oven
Phillips Screw Driver
***BEFORE DOING THIS, TAKE ALL THE BULBS OUT AND HID COMPONENTS***
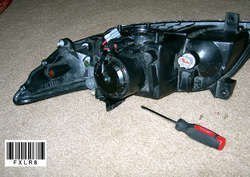
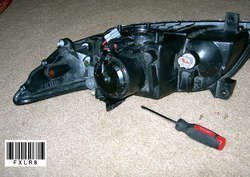
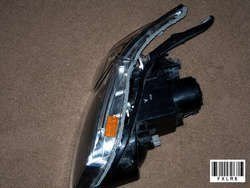
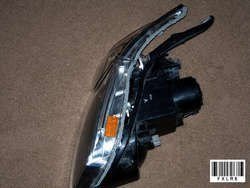
1.Unscrew the 3 screws from the back of the headlight.
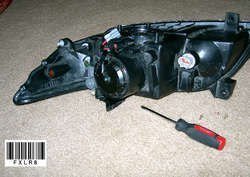
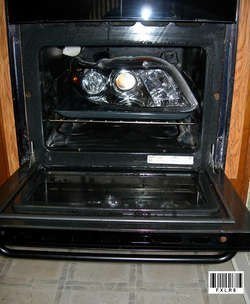
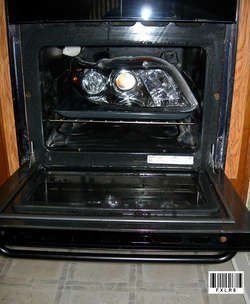
2.Preheat your oven to 400 degrees. When your oven gets up to 400 degrees....turn it off...(TURN IT OFF) << remember this step****.
3.Put your headlight on a cookie sheet or tray and stick it in the oven that is now off. Leave it in the oven for 4-5 minutes and close the door.
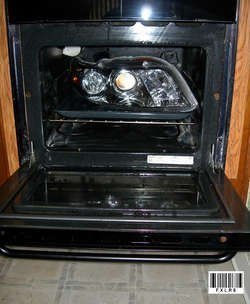
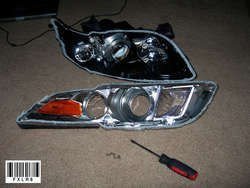
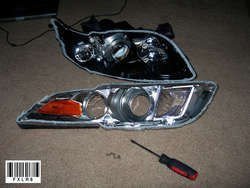
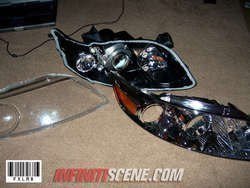
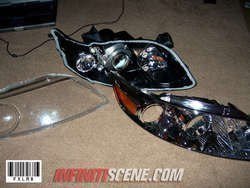
4.After the 5 minutes in the oven you can now go ahead and pry the two halves apart.
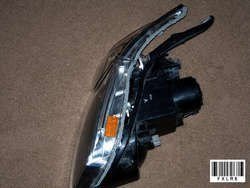
5.To remove the reflector you are going to unscrew 4 screws that hold the reflector from the clear front of the headlight.
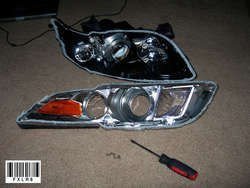
6.This is the time to paint, angel eye, or whatever your plans are.
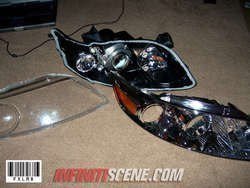
7.Reassembly is the reverse of the above.
*you can put the two halves together as close as you can....reheat and then bring them together even more, then put the 3 screws back in.
*you can re-use the same adhesive
***ALSO REMEMBER WHEN USING THE OVEN THE HEADLIGHTS WILL GET HOT.. PLEASE USE GLOVES OR WHATEVER YOU CAN TO PREVENT ANY BURNS***
Oven
Phillips Screw Driver
***BEFORE DOING THIS, TAKE ALL THE BULBS OUT AND HID COMPONENTS***
1.Unscrew the 3 screws from the back of the headlight.
2.Preheat your oven to 400 degrees. When your oven gets up to 400 degrees....turn it off...(TURN IT OFF) << remember this step****.
3.Put your headlight on a cookie sheet or tray and stick it in the oven that is now off. Leave it in the oven for 4-5 minutes and close the door.
4.After the 5 minutes in the oven you can now go ahead and pry the two halves apart.
5.To remove the reflector you are going to unscrew 4 screws that hold the reflector from the clear front of the headlight.
6.This is the time to paint, angel eye, or whatever your plans are.
7.Reassembly is the reverse of the above.
*you can put the two halves together as close as you can....reheat and then bring them together even more, then put the 3 screws back in.
*you can re-use the same adhesive
***ALSO REMEMBER WHEN USING THE OVEN THE HEADLIGHTS WILL GET HOT.. PLEASE USE GLOVES OR WHATEVER YOU CAN TO PREVENT ANY BURNS***
Attachments
-
 DSCN0622.jpg93.6 KB · Views: 66
-
 DSCN0622.jpg93.6 KB · Views: 66
-
 DSCN0623.jpg77.1 KB · Views: 80
-
 DSCN0623.jpg77.1 KB · Views: 82
-
 DSCN0624.jpg80.6 KB · Views: 81
-
 DSCN0624.jpg80.6 KB · Views: 46
-
 DSCN0625.jpg84 KB · Views: 57
-
 DSCN0625.jpg84 KB · Views: 58
-
 DSCN0626.jpg94.3 KB · Views: 50
-
 DSCN0626.jpg94.3 KB · Views: 62


